One of the most visible changes you will see in the new GetMyTime site is the enhanced Import Process for your Timer Files (this is for customers who use GetMyTime with Quickbooks). The Import Process is now faster and more convenient than ever, and the new GMT site is also more equipped to handle data transfers and file uploads than the Classic GMT site, so if you are still using the Classic site to upload your timer files, we strongly encourage you to switch to the new site.
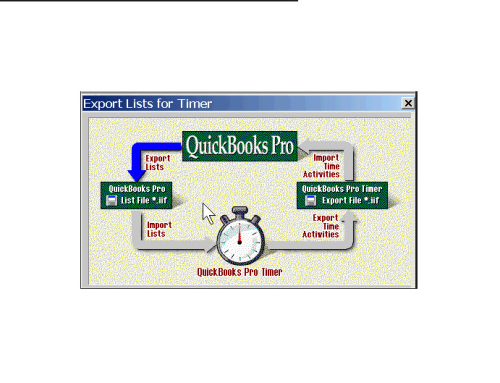
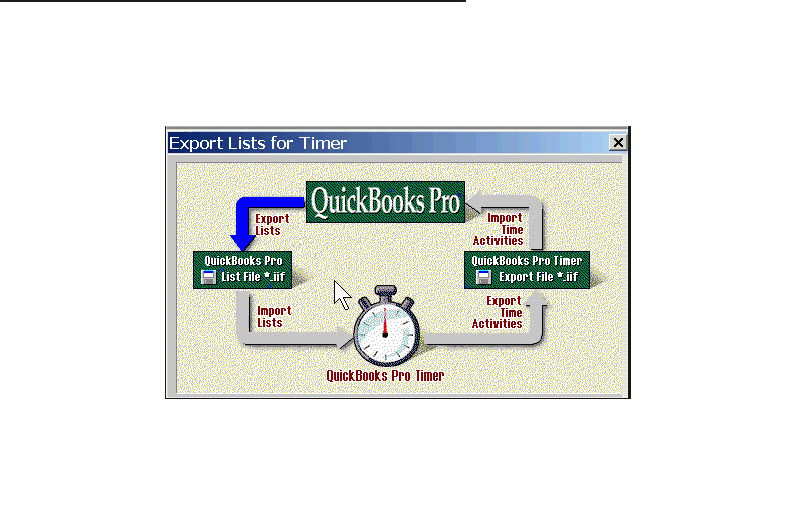
Importing your timer file to GetMyTime is very easy. Go to Administration, and on the left menu you will click on Quickbooks. You will see two selections: Import Timer and Import Expenses. If you have a timer file to upload, click on Import Timer.

The Import Timer window on the new GMT site now has more options for users to check and make sure their data is being loaded properly. There are dialog boxes you can check or uncheck depending on the data you are uploading to GMT. As a general rule, you can mark all the boxes except for Import Service Items Only when you upload a timer file; this selection usually covers all data additions.
You will also need to click Choose File and look for the exported timer file you will upload from Quickbooks to GetMyTime. When everything’s set, click Import to start the file upload. You will notice that on the new GMT site, the upload speed has also increased significantly, and even larger timer files take very little time to finish uploading. Also, the new GMT site is much better equipped at recognizing duplicate information and matching them with the right profiles (in other words, no more stranded users for those of you familiar with Classic GMT).

Uh-oh! Some of my items are missing after the upload!
When the timer file is uploaded, and you check your GMT account and see that some of your Jobs or Items are missing, or your Employees are inactive, don’t panic. Sometimes, it takes a while for the data to refresh. Click on your browser’s Refresh button, or type CTRL + F5 on your computer. You can also logout, close your browser window, and log back in. This allows your system to refresh the data on your GMT account.
Activate on Quickbooks
When you add Jobs, Items, Employees, and other timer data to your Quickbooks, don’t forget to make them active. This way, they should automatically show as Active as well on GetMyTime once the timer file has been uploaded.
Keep in mind that if you want to make any changes to names and details of Jobs, Items, Employees, Classes, Vendors, etc., these changes have to be done on Quickbooks, and then the timer file upload to GMT will reflect those changes.
What do I do if the upload fails?

If you see that message after your upload attempt, that means the account number contained in your timer file no longer matches the one on file at GMT. This usually occurs if you upgrade to a different version of Quickbooks, or in some instances, if the file is generated in a new computer, which the system might recognize as a different company altogether although the file remains the same. In these cases, you can contact GetMyTime Support to make the necessary adjustments so your file can be uploaded.